Macros
One click, one command — up to ten of them, always at hand
A macro is a single command — text or hex — that you fire with one click, without retyping it. ComIO.Studio can hold anywhere from zero to ten macros; the limit is what fits on the top bar without scrolling. You define them once, they live on disk, and they are always one click away — even after a restart.
Where the buttons are
The macro buttons live on the top bar, not in the sidebar. Hover over the macro area on the bar and a panel slides down after a short delay (about a third of a second), showing one button per defined macro. Click a button and its command goes out straight away — the macro itself turns the text or hex into bytes and hands them to the port, so the format and the line ending are the macro's own settings, not the send bar's.
A button shows the name you gave the macro. If you left the name empty, the button falls
back to its slot label — M1, M2 and so on. Hovering a button
shows a tooltip with the macro's contents.
Where you define them
The Macros section in the sidebar is where you build the list — one row per macro, with a + button in the header to add another. The number next to the title shows how many macros you have. The + goes dim after the tenth macro, because that is all the bar panel can hold.
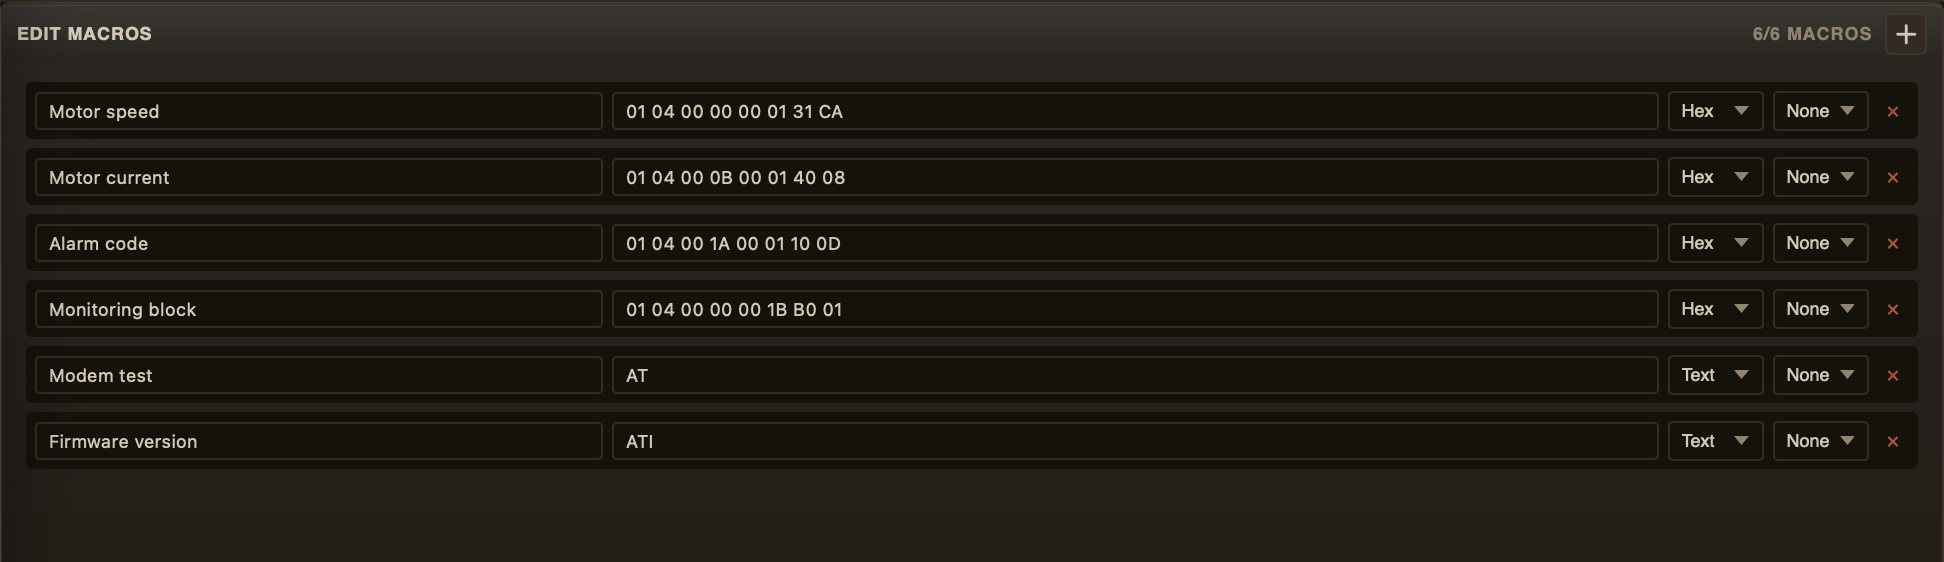
The Macros section — one row per macro, a + button to add another, a counter in the header
The four fields
Each row carries the four fields of a macro:
- Name — the label on the button (e.g., “Reset”,
“Init”). Leave it empty and the button falls back to its slot label
(
M1,M2…). - Data — the command itself, e.g.
ATZorFF 01 03. - Mode — Text or Hex. In Text
mode escape sequences (
\r,\n,\t) become real control bytes; in Hex mode the field is literal, byte for byte. - EOL — line ending appended to the data: None, CR, LF or CRLF. The ending is appended in Text mode only — in Hex mode nothing is added, so a hand-typed Modbus frame is best left at None.
No save button
There is no “Save” or “Cancel” button. Every change goes to disk straight away — text fields after a short pause (so typing a long command does not write after every keystroke), lists the moment you change them. Close the section whenever you like; nothing is lost.
The list lives in settings/macros/macros_config.json and survives
restarts.
Firing a macro
Click a button on the top bar. The bytes go out on the port — and in the terminal they appear with the direction mark TX_MCR (see the Terminal chapter), so you can tell a macro's send apart from your own typing, a trigger, a script or the AI assistant.
Example: ESP8266 AT commands
M1: Name="AT"      Data="AT"        Mode=Text  EOL=CRLF
M2: Name="Version" Data="AT+GMR"    Mode=Text  EOL=CRLF
M3: Name="Reset"   Data="AT+RST"    Mode=Text  EOL=CRLF
M4: Name="WiFi"    Data="AT+CWLAP"  Mode=Text  EOL=CRLF